web push 实现示例
24 Jan 2019那么web push究竟是怎样的一个流程呢,简单地说,可以分为三个步骤:
- 客户端完成请求订阅一个用户的逻辑
- 服务端调用遵从web push协议的接口,传送消息推送(push message)到推送服务器(该服务器由浏览器决定,开发者所能做的只有控制发送的数据)
- 推送服务器将该消息推送至对应的浏览器,用户收到该推送
注册 google GCM API KEY
点击这里 进入 谷歌云平台 dashboard 控制面板,点击下图区域 新建或使用一个已有项目

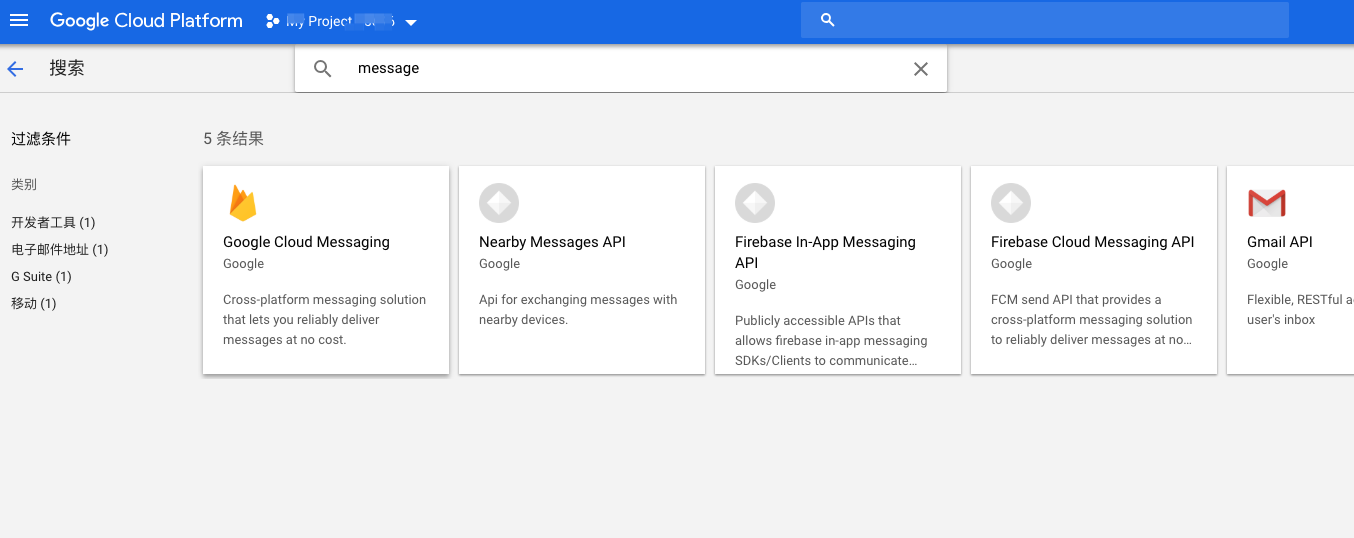
选择 api 服务,点击库,添加google GCM Api 服务,在搜索框中输入 message,选择下图 服务 点击 启用

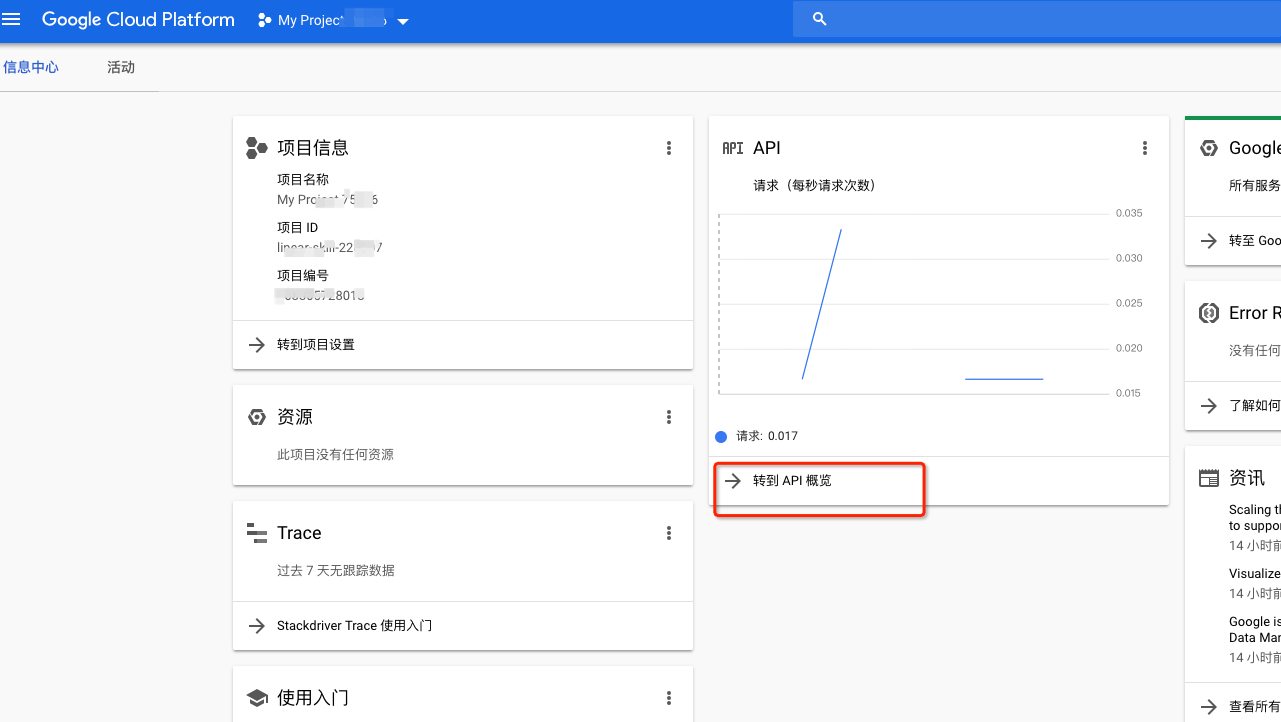
回到谷歌云平台 dashboard控制面板,点击转到 api 服务

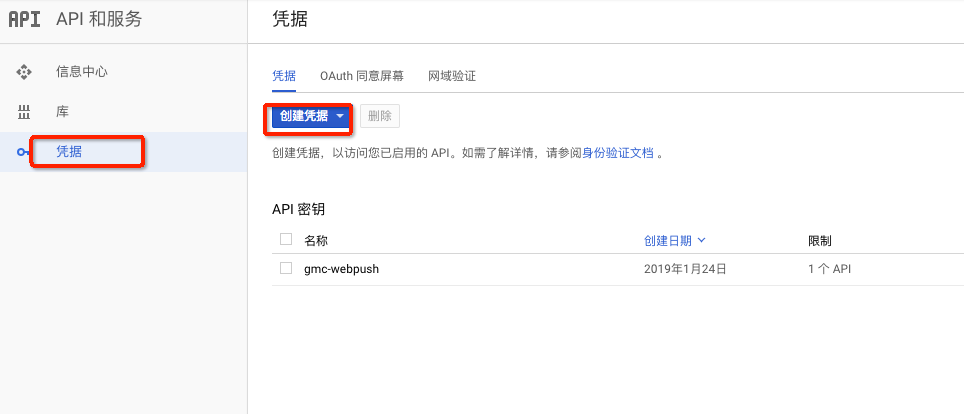
在 API和服务面板 左侧 点击凭据 创建 api key, 点击 创建凭据 即可生成 api key

前端页面
// html
<body>
    <h1>Hello world</h1>
</body>
<script src="jquery.js"></script>
<script src="demo.js"></script>

//demo.js
if ('serviceWorker' in navigator && 'PushManager' in window) {
    window.addEventListener('load', function() {
        navigator.serviceWorker.register("./serverwork.js").then(function(reg){
            console.log("Yes, it did register service worker.");
            reg.pushManager.getSubscription().then(subscription => {
                console.log(subscription);
                // 如果用户没有订阅
                if (!subscription) {
                    subscribeUser(reg);
                } else {
                    console.log("You have subscribed our notification");
                }
            });
        }).catch(function(err) {
            console.log("No it didn't. This happened: ", err)
        });
    });
}

function subscribeUser(swRegistration) {
    const applicationServerPublicKey = "< applicationServerKey >";
    const applicationServerKey = urlB64ToUint8Array(applicationServerPublicKey);
    swRegistration.pushManager.subscribe({
        userVisibleOnly: true,
        applicationServerKey: applicationServerKey
    })
    // 用户同意
    .then(function(subscription) {
        console.log('User is subscribed:', JSON.stringify(subscription));
        // $.post("/add-subscription.php", {subscription: JSON.stringify(subscription)}, function(result) {
        //     console.log(result);
        // });
    })
    // 用户不同意或者生成失败
    .catch(function(err) {
        console.log('Failed to subscribe the user: ', err);
    });
}

function urlB64ToUint8Array(base64String) {
  const padding = '='.repeat((4 - base64String.length % 4) % 4);
  const base64 = (base64String + padding)
    .replace(/\-/g, '+')
    .replace(/_/g, '/');

  const rawData = window.atob(base64);
  const outputArray = new Uint8Array(rawData.length);

  for (let i = 0; i < rawData.length; ++i) {
    outputArray[i] = rawData.charCodeAt(i);
  }
  return outputArray;
}

//serverwork.js
self.addEventListener('push', function(event) {
    console.log('[Service Worker] Push Received.');
    console.log(`[Service Worker] Push had this data: "${event.data.text()}"`);

    // let notificationData = event.data.text();
    // const title = notificationData.title;
    // 可以发个消息通知页面
    //util.postMessage(notificationData);
    // 弹消息框
    event.waitUntil(self.registration.showNotification(event.data.text()));
});
其中 demo.js 中 applicationServerPublicKey 为公钥,稍后下文给出
后端 push 实现
安装 npm i web-push,通过如下代码获取到 publicKey和 privatekey, 该key每次生成都不同
const vapidKeys = webpush.generateVAPIDKeys();
console.log(vapidKeys.publicKey, vapidKeys.privateKey);
后端代码实现 app.js:
const webpush = require('web-push');
webpush.setGCMAPIKey('< gcm api key >');
webpush.setVapidDetails(
  'mailto:aa@aa.com',
  '< applicationServerPublicKey >',  //上面代码vapidKeys.publicKey 的字符串
  '< privateKey >' // 上面代码 vapidKeys.privateKey 的字符串
);
//要发送的通知
var params = {
    "title": "一篇新的文章",
    "body": "点开看看吧",
    "icon": "",
    "data": {
        "url": "https://www.xxx.com"
    }
};
const payload = new Buffer(JSON.stringify(params), 'utf8');

const pushSubscription = {"endpoint":"xxxxx","expirationTime":null,"keys":{"p256dh":"xxxx","auth":"xxxxx"}}
webpush.sendNotification(pushSubscription, payload).then(status => {
    console.log(status);
}).catch(err => {
    console.log(err);
});
其中 pushSubscription 为一个json, 来源 为上文 demo.js 中 用户同意时 JSON.stringify(subscription) 输出的内容, 每次用户允许后的 subscription 都不同,需要发送到后台存储
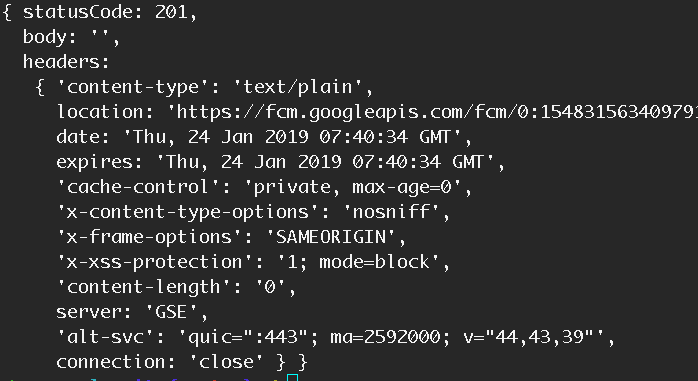
运行 node app.js,输出如下,即可收到通知


** 注意: serverice worker 只支持 https 协议,但在本地 localhost 是可以测试使用的 **